Phob GCC Mash Macro
Reverse Engineering and getting funny with a controller
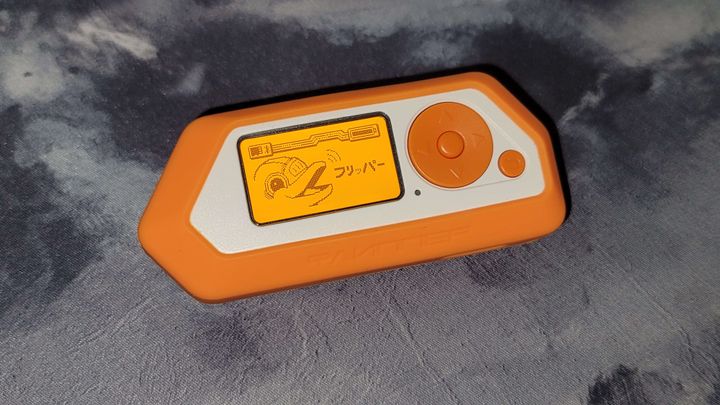
So firstly, I'm a smash ultimate player, and I love the Gamecube controller. However, I was tired of getting snapback (when letting go of a control stick causes it to 'snap' back and register an input in the opposite direction) and decided to look to modding.
(If you want to skip me rambling about actually building the controller and want to see the actual macro, skip to 'Making a Macro')
Building a Phob
After some research it seemed the best controller mods for this problem was either getting a 'Phob' GCC, or installing a snapback capacitor in my regular GCC. The Phob PCB avoids snapback by not relying on potentiometers for its control sticks like regular controllers. Potentiometers are unreliable and deteriorate over time. Instead, it uses magnets in place of the potentiometers and a hall effect sensor. Basically, the control sticks rotate a little magnet, which causes the magnet's magnetic field to change direction in respect to the PCB below it, which holds a sensor called a Hall effect sensor (it just measures the direction of the field).
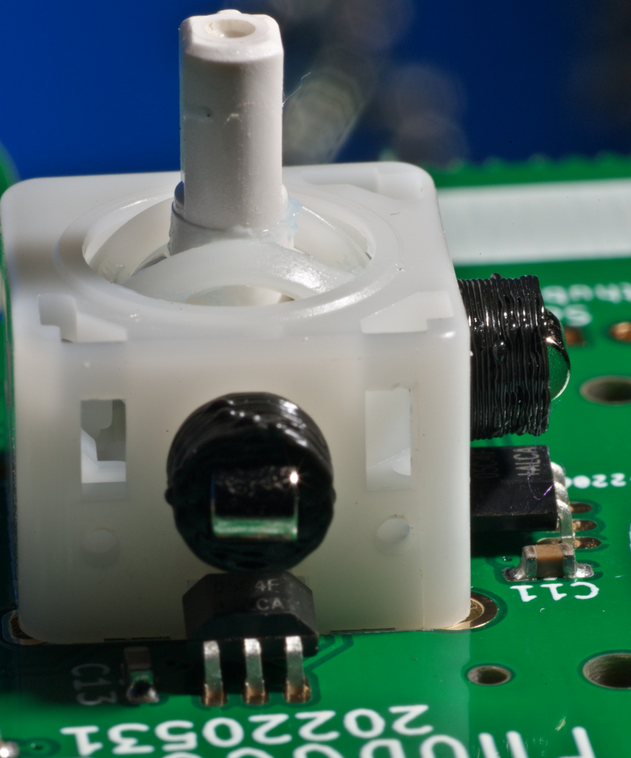
This this allows for much more consistent reading of the sticks as magnets dont degrade over time, and the digital signal from the sensors allows for fancy magic (math) to eliminate snapback. This is done via the PCB's micro controller, which is just an everyday arduino (called a Teensy).
However, buying a Phob GCC is pretty expensive ($200+) so I looked into building my own. To build one, you pretty much just rip out the regular PCB in a GCC and replace it with the Phob's.
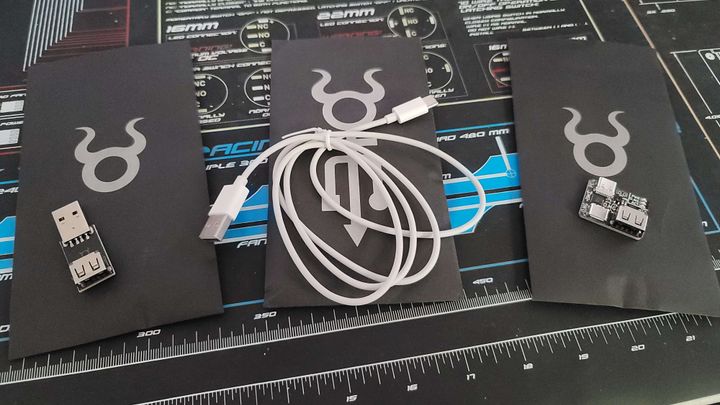
Now, this was before I knew how to solder and wanted to learn for other personal projects, so I took upon building it so I could learn how its done. I bought a cheap soldering iron off Amazon and some good solder (as recommended from the Phob's build guide on Github)
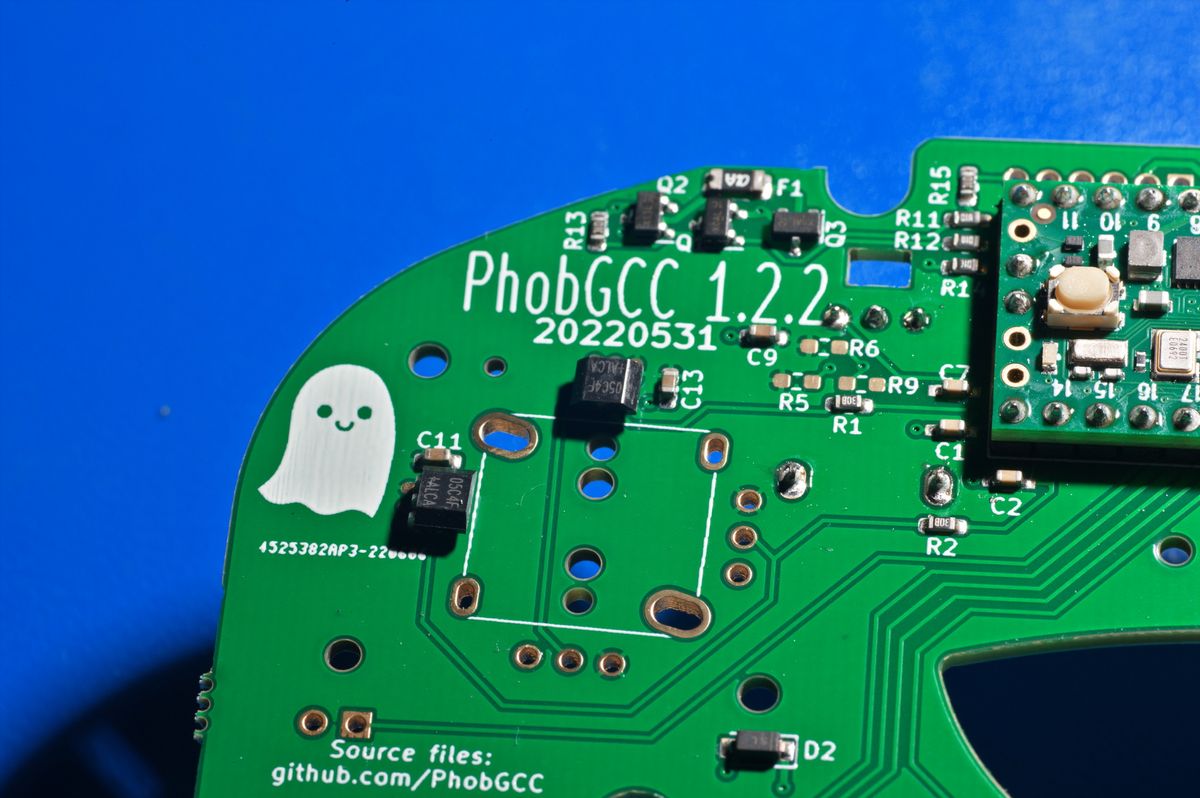
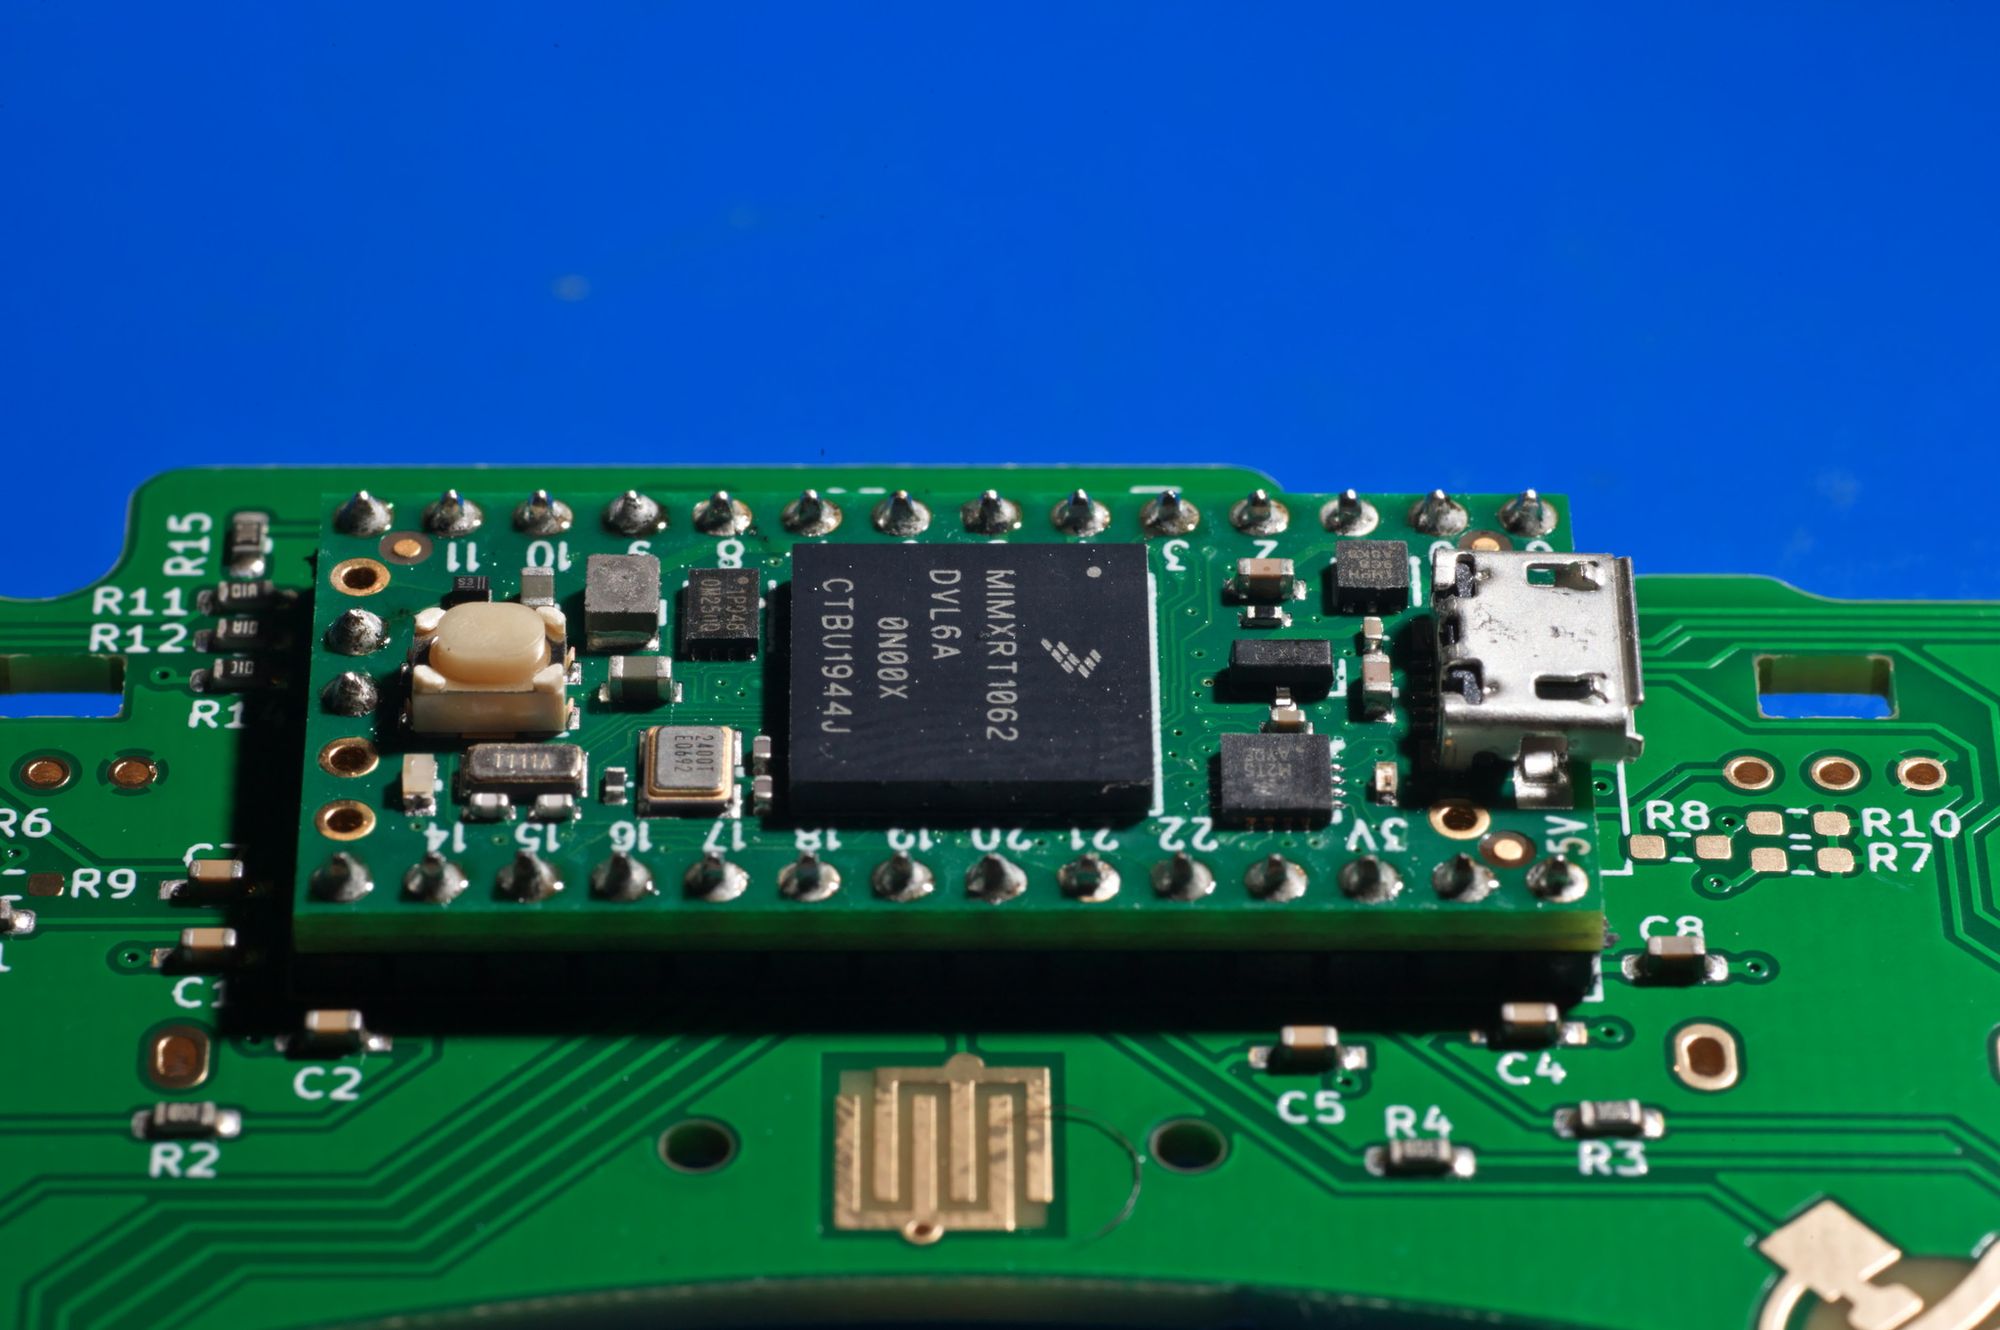
 PhobGCC
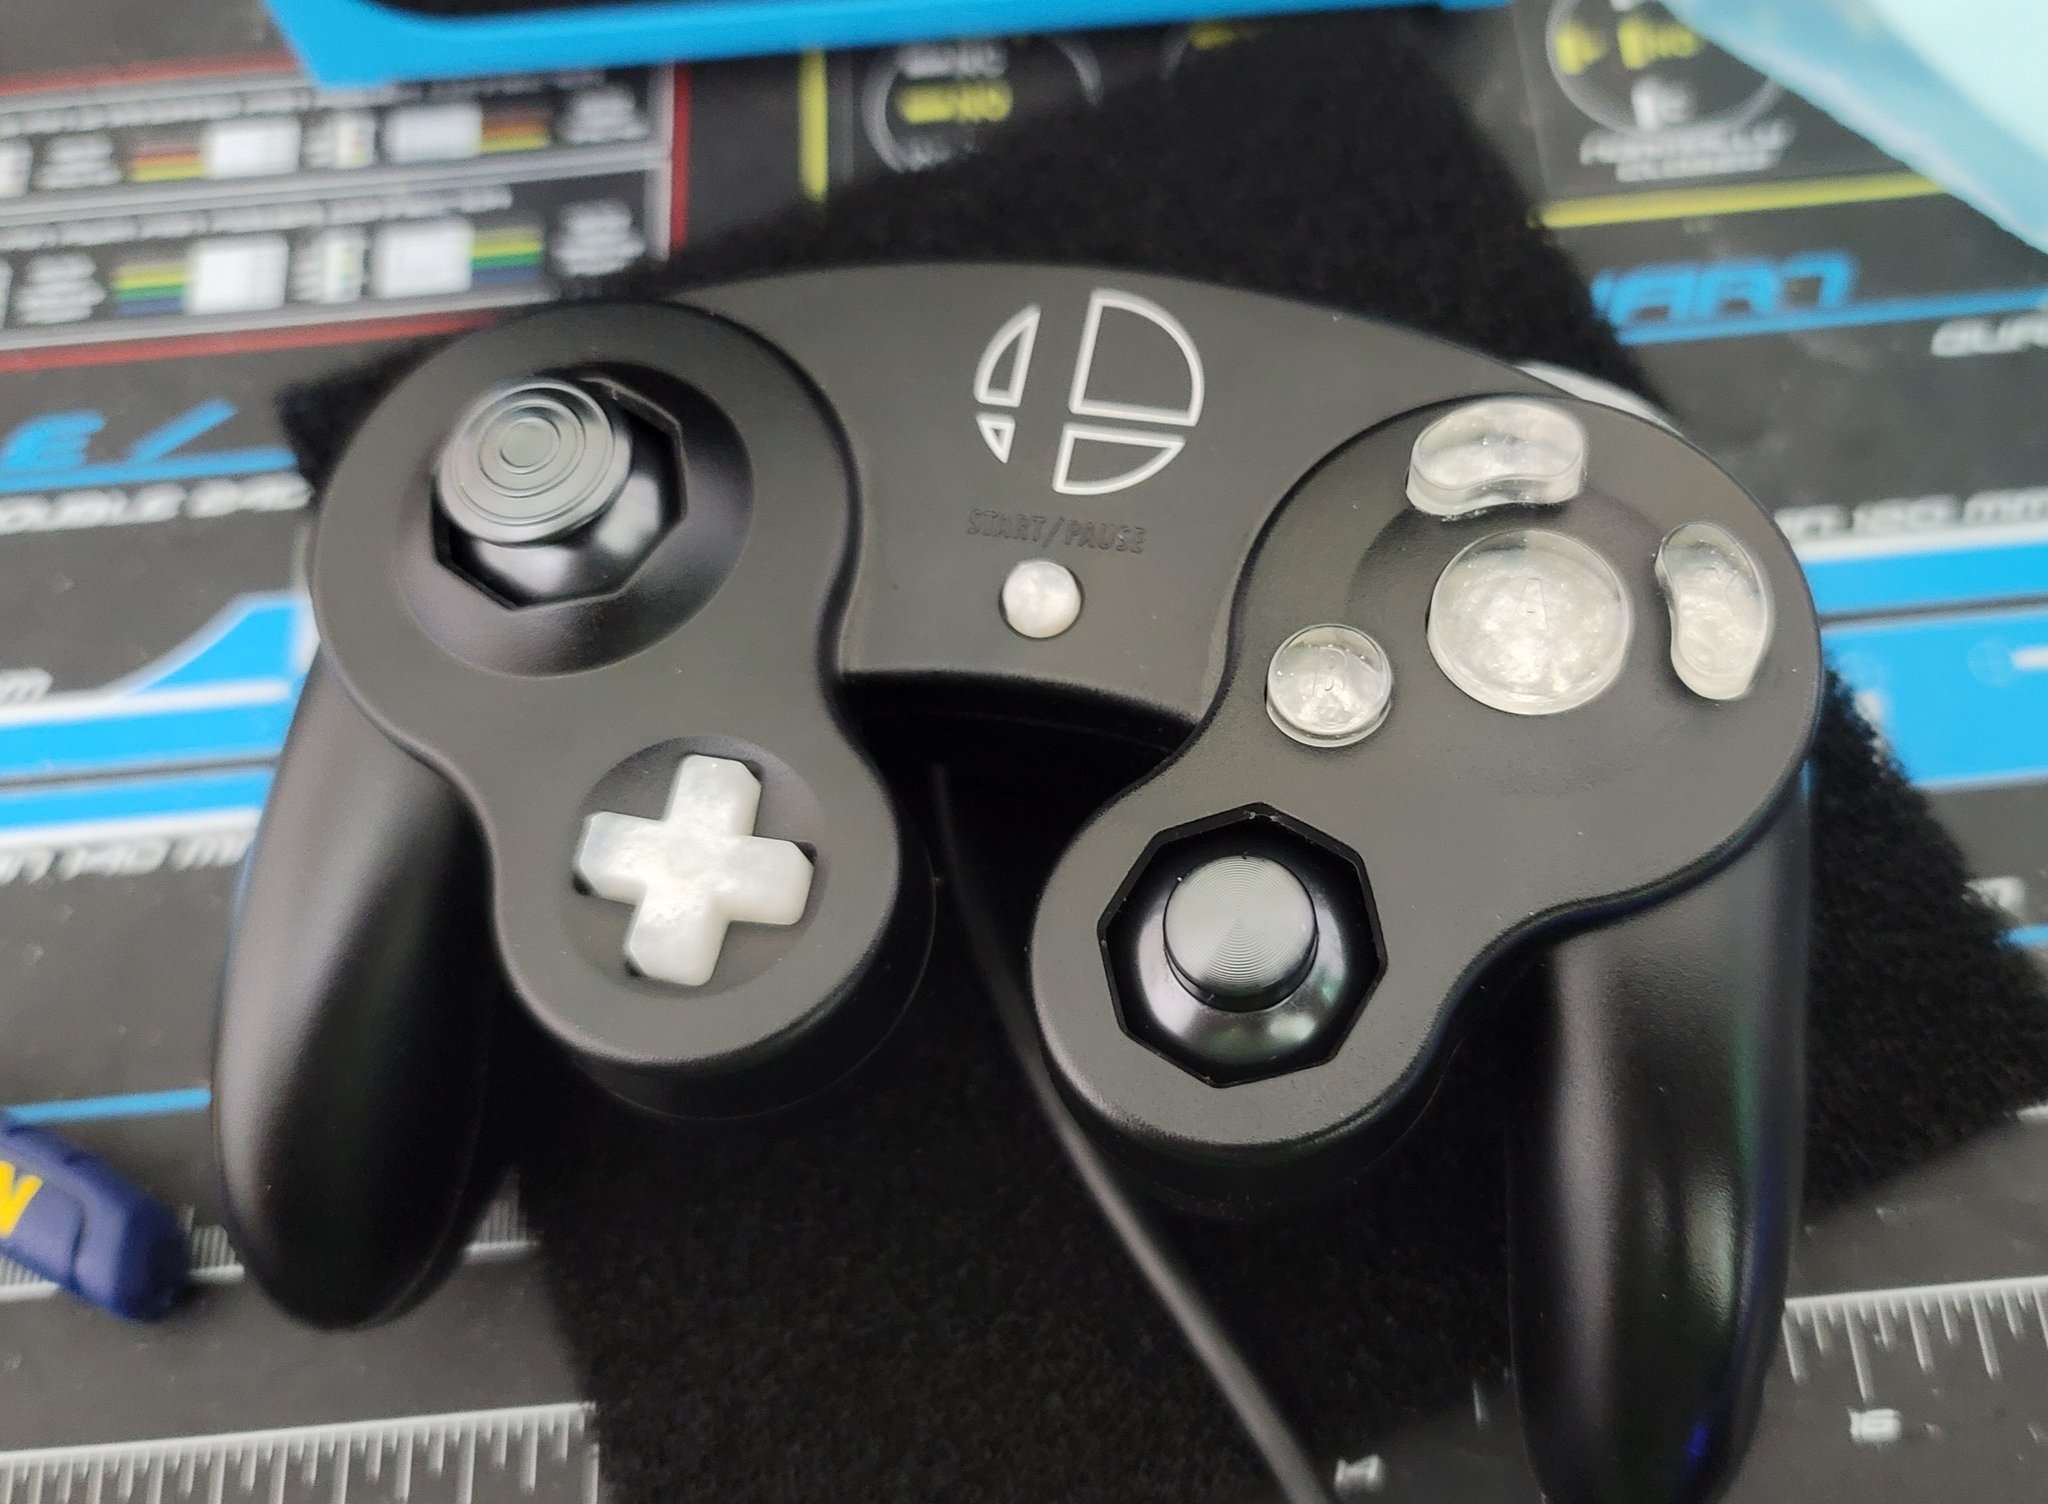
I learned to solder, followed the guide, dodged delicious flux fumes, and eventually had a completed PCB. I got some custom buttons and control stick caps on Etsy and my controller was looking pretty snazzy.
The final step was uploading the firmware to the arduino via the steps seen on this page of the Github:
PhobGCCBeing digital, you can customize your snapback filter to be weaker or stronger, depending on your specific controller's stick boxes and stick caps. (So I can have metal caps without worry of snapback!)
Reverse Engineering
But after using the controller for a while I realized that the open source nature of the microcontroller and the firmware you use to program it, you can theoretically program it to do anything. The only problem is that I don't how the firmware works. There's some commenting but not to a level that someone that was not associated with actually programming it would be able to use.
Well let's start from the top. The main firmware that's uploaded to the Teensy is what is copy and pasted into the Arduino IDE. Scrolling to the bottom of the .ino file shows this line:

It looks like this is where the values of everything on the controller is actually read.
This isn't going to help too much so lets go to where the readSticks() function is actually defined.

Using grep, I can see that its in the phobGCC.h file located in /common/.
Here is the definition of the function:

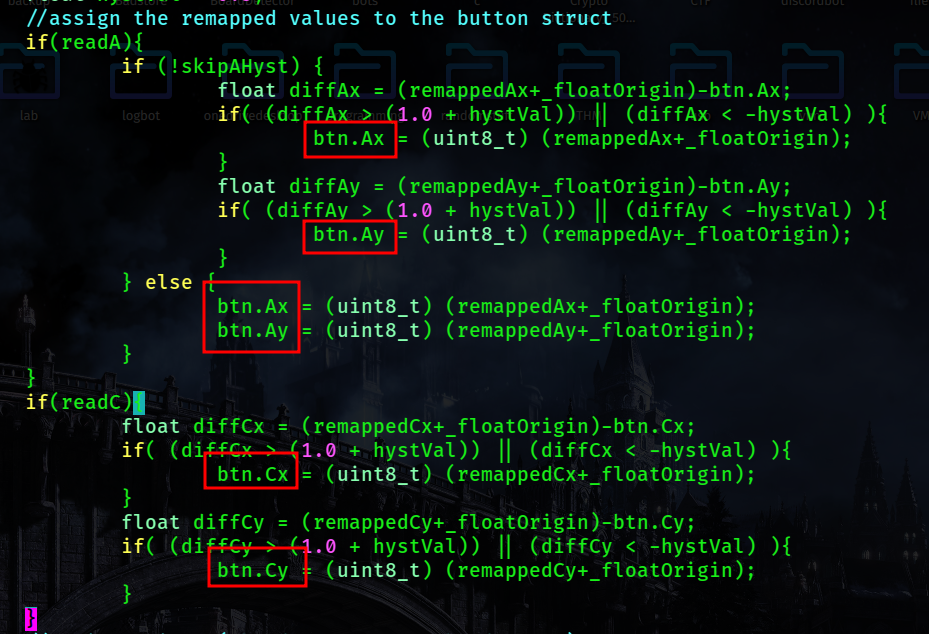
Looking at the actual body of the function, it looks like values are being saved into an 'btn' object:
So now that I know how button inputs are saved, I searched for the declarations of those variables and found the following function:
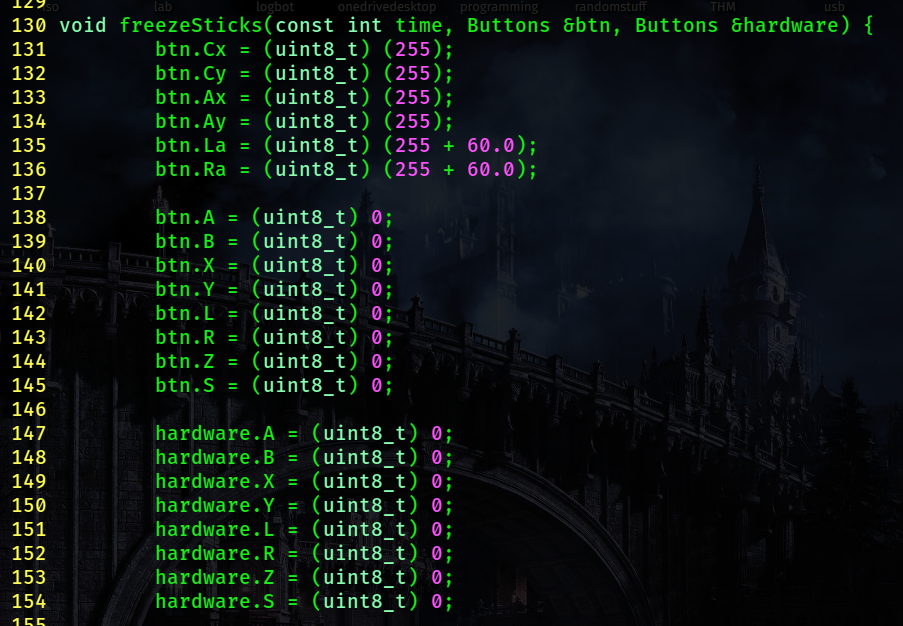
It looks like these are the values of the buttons as well as the analog sticks. Now we can start to make something interesting!
Making a Macro
I had an idea, what if I could make a macro that can mash for me? Mash in this case meaning rotating the left analog stick super quickly so that I can quickly get out of things that require mashing in Smash like buries, grabs, shield breaks, etc.
Well first off, I needed to decide on a trigger for the macro. Gamecube controller have analog triggers. Meaning that if they are pressed half way down, the game can read half a trigger press. If theyre pressed all the way down, the controller registers a digital off or on press. Smash Ultimate does not care about the analog part of this system and if the trigger is pressed down at all, the input is registered in game. Counterintuitively, it also does not care if the digital press is pressed or not. Not having any travel on the triggers but activating the digital press from the bottom out will not register an input in game.
SO... That's what I'll use as a trigger, the trigger's digital press (as its not used by anything else in the actual game but is still usable by the firmware). I ultimately decided that if the digital press from both triggers are registered, the macro will run.
So now I have to actually program the macro. I wanted the macro to be a perfect circle, but as long as the game is registering a bunch of different analog stick inputs, it doesn't matter if its a circle or not.
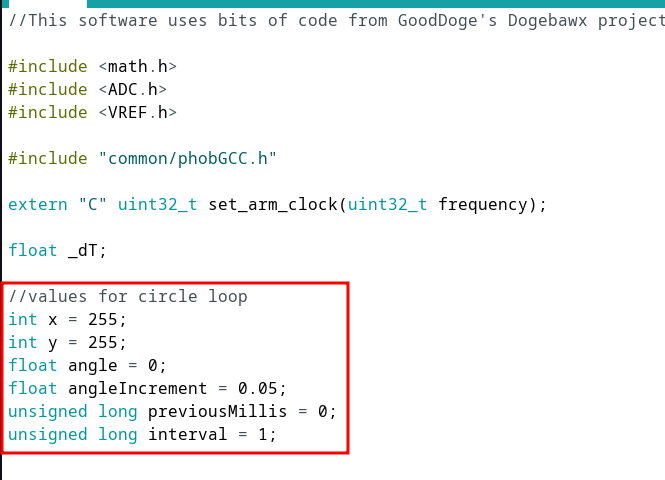
First off, I needed to code the mashing function, which I did in the arduino's .ino file.
I did this by first defining my variables:
And writing this block in the loop function to rotate from 255, 255 to -255, -255 and back
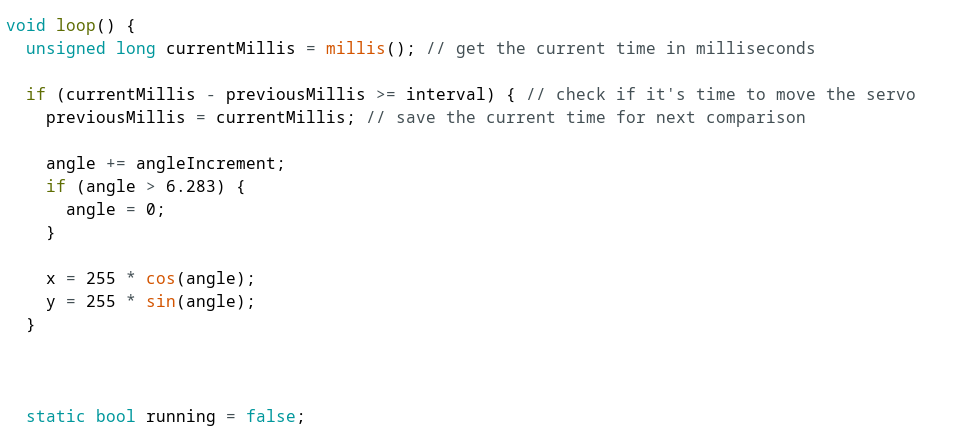
This constantly changes the x and y values along the circumference of the circle. Now I just have to pass these values to the readSticks function by adding them as an argument


Finally, I just have to create an if statement in phobGCC.h that checks if both of the digital triggers are pressed, and if they are, to set the analog stick's x and y values to the x and y variables we created:
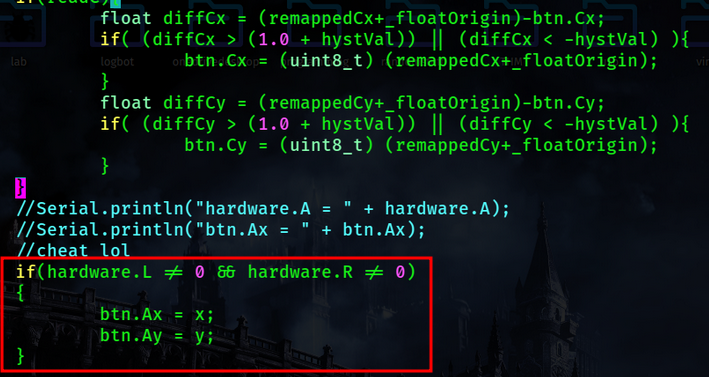
Upload the firmware using the arduino IDE and it's done!
The Phob GCC looks the EXACT same as a regular GCC on the outside, the only way to tell if it's a Phob is by opening it up (or seeing that it has no snapback, lol). This makes this pretty hard to detect in tournament and impossible to detect online outside of just seeing that the person is inhumanly mashing.
This is just a rudimentary implementation of this, if I wanted to be extra devious I can also program a way to SDI for me, make it harder to detect such as changing from both triggers to just one, or even making an 'assist' mode which detects if you're mashing with the analog stick and then kicks in to help you out (which would be a lot more difficult to detect).
To be clear, I've not been to a Smash tournament and don't intend to, but I'm surprised more people have not talked about the possibilities behind controllers like these.